Taking stunning photos isn’t just about owning the fanciest camera or having the most expensive gear. It’s about understanding the fundamentals of photography and knowing how to capture moments that tell compelling stories. Whether you’re a beginner with a smartphone or an enthusiast with a DSLR there’s always room to elevate your photography game.
In today’s visual-driven world where Instagram feeds and social media platforms dominate personal expression mastering the art of better photography has become more important than ever. From composition techniques to lighting tricks and post-processing skills photographers need a diverse toolkit to stand out in the crowded digital landscape. Let’s explore how to transform ordinary snapshots into extraordinary images that’ll make viewers stop scrolling and start admiring.
Better Image Photography
The exposure triangle represents the three fundamental elements that control how light enters a camera: aperture, shutter speed, and ISO sensitivity. These components work together to create properly exposed photographs under various lighting conditions.
Mastering Aperture Settings
Aperture controls the amount of light entering through the lens by adjusting the size of its opening. The f-stop numbers (f/1.8, f/4, f/16) indicate the aperture size, with smaller numbers representing larger openings. Large apertures (f/1.8) create a shallow depth of field, blurring backgrounds for portraits or macro photography. Small apertures (f/16) keep more elements in focus, ideal for landscape photography. Photographers adjust aperture settings to balance creative effects with proper exposure.
Perfect Shutter Speed Control
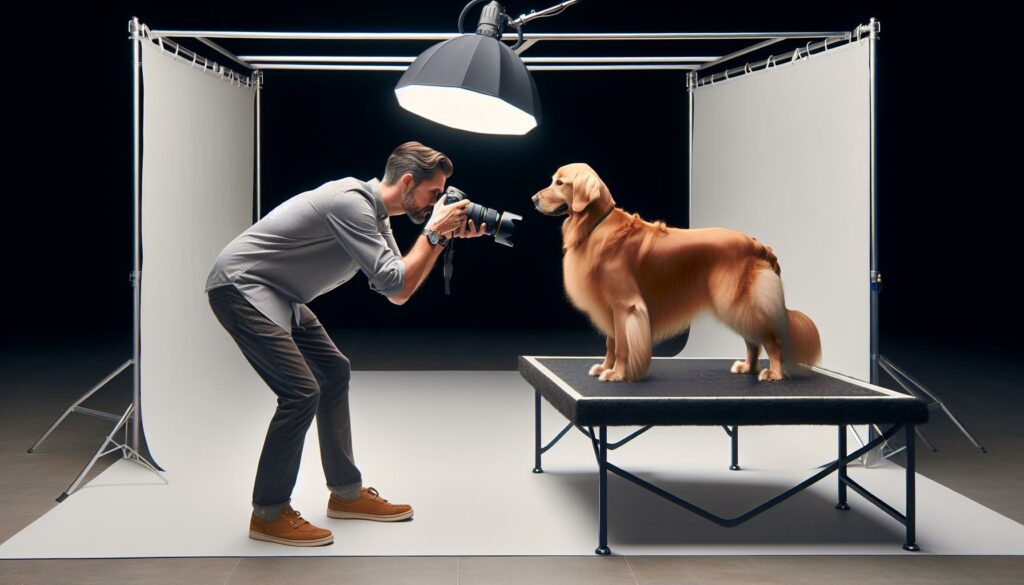
Shutter speed determines how long the camera sensor remains exposed to light. Fast shutter speeds (1/1000s) freeze motion, capturing sharp images of moving subjects like athletes or wildlife. Slow shutter speeds (1/30s or longer) create motion blur effects, perfect for waterfalls or light trails. The selected shutter speed depends on available light, subject movement, and creative intent. Hand-held shots typically require speeds of 1/60s or faster to prevent camera shake.
ISO and Image Quality
ISO measures the camera sensor’s sensitivity to light. Lower ISO values (100-400) produce cleaner images with minimal digital noise, making them optimal for bright conditions. Higher ISO settings (800-6400) enable photography in low light but introduce noise that reduces image quality. Modern cameras feature improved high-ISO performance, allowing acceptable image quality at higher sensitivities. Photographers balance ISO settings with aperture and shutter speed to achieve proper exposure while maintaining image quality.
Essential Camera Gear for Quality Photos
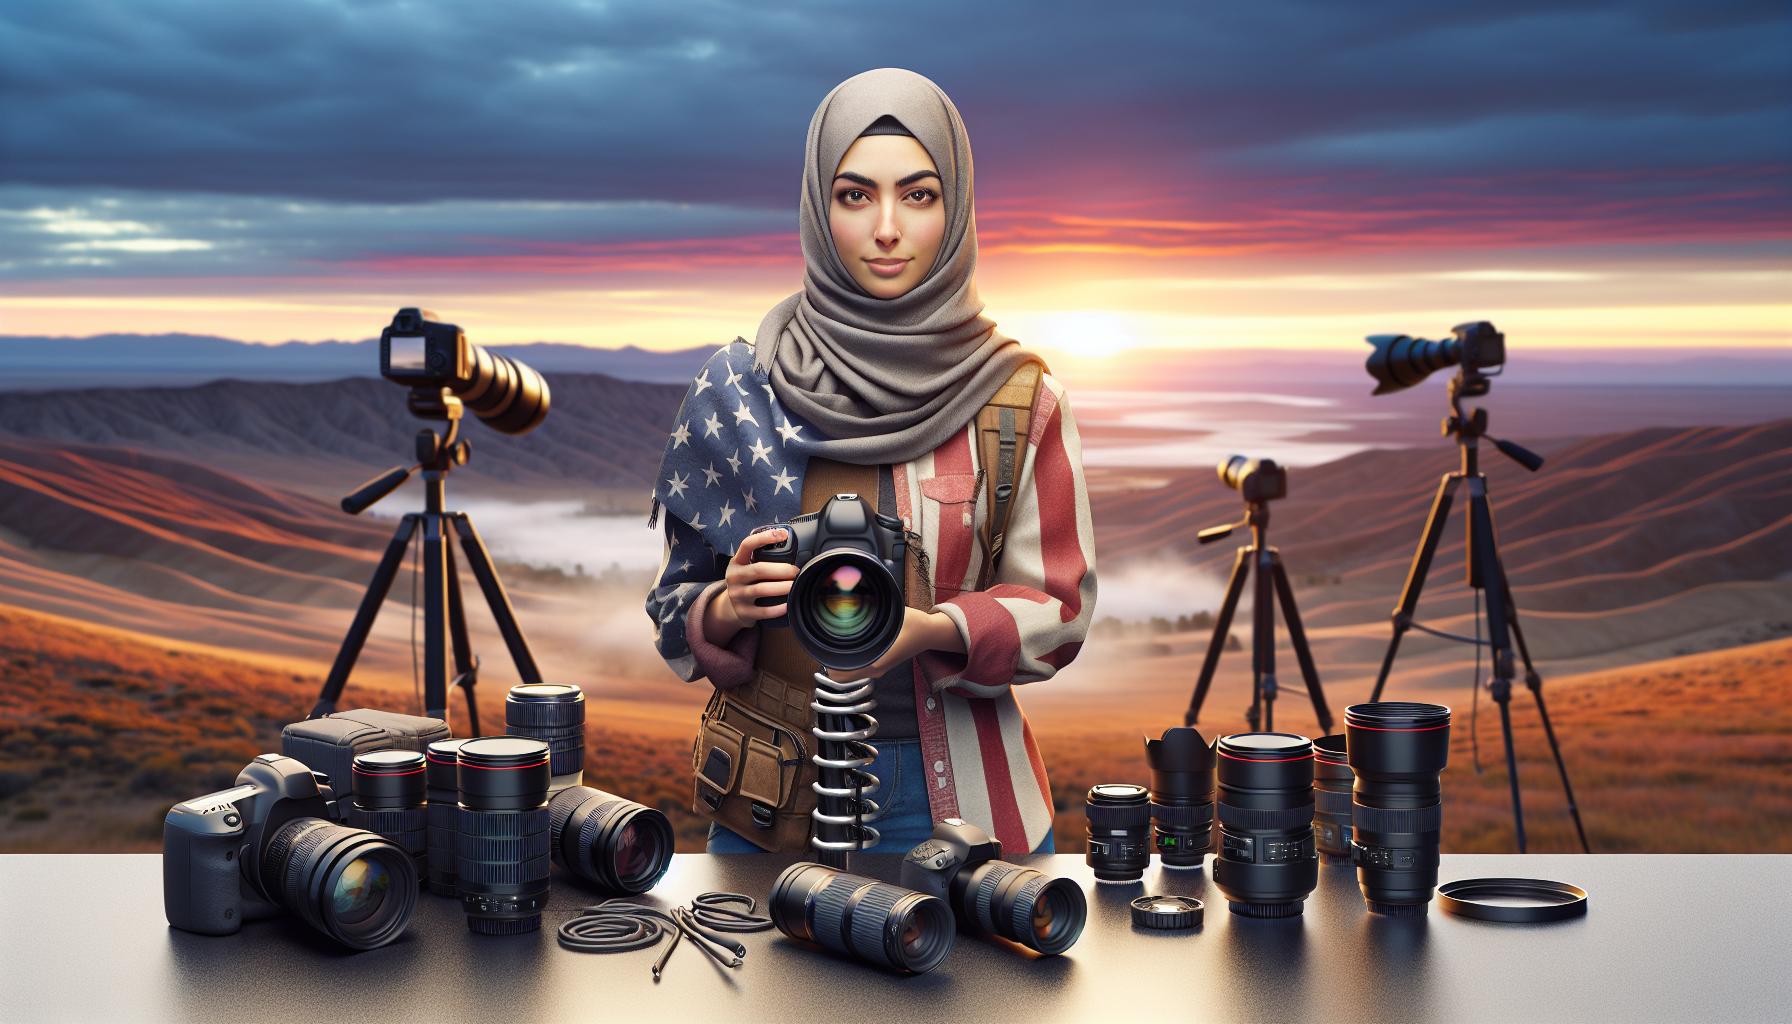
Professional image creation relies on selecting appropriate equipment that enhances photographic capabilities while meeting specific shooting requirements.
Choosing the Right Lenses
Prime lenses deliver superior image quality with wider apertures for enhanced low-light performance. A 50mm f/1.8 lens serves as a versatile starting point for portrait photography while a 24-70mm zoom lens adapts to various shooting scenarios. Wide-angle lenses (14-35mm) excel in landscape photography capturing expansive scenes with dramatic perspectives. Macro lenses enable extreme close-up photography of small subjects like insects flowers revealing intricate details. Telephoto lenses (70-200mm) compress perspective creating professional portraits sports photos wildlife images from a distance.
Must-Have Camera Accessories
Camera filters protect lenses enhance image quality through specific effects:
- UV filters shield lenses from dust scratches
- Polarizing filters reduce glare enhance color saturation
- Neutral density filters control exposure in bright conditions
Essential support equipment includes:
- Carbon fiber tripods for sharp long-exposure shots
- Memory cards (64GB minimum) with fast write speeds
- Backup batteries ensure uninterrupted shooting
- Camera cleaning kit maintains equipment performance
- Padded camera bag protects gear during transport storage
- External hard drives for image backup
- Cloud storage accounts safeguard digital assets
- Memory card readers facilitate quick file transfers
Composition Techniques That Make Photos Pop
Composition transforms ordinary scenes into compelling photographs by creating visual harmony and directing viewer attention. These fundamental techniques establish a strong foundation for creating visually striking images.
Rule of Thirds in Practice
The rule of thirds divides an image into nine equal segments using two horizontal and two vertical lines. Placing key subjects at the intersections of these lines creates dynamic compositions that draw viewers into the photograph. A landscape photo positions the horizon along the upper or lower third line rather than the center. Portrait photographers align their subject’s eyes with the upper third line to create engaging portraits. Mobile photographers activate their camera’s grid overlay feature to practice this technique during composition. This simple yet effective approach works across various photography styles including street photography where photographers position pedestrians at intersection points or architecture photography where buildings occupy one-third of the frame.
Leading Lines and Framing
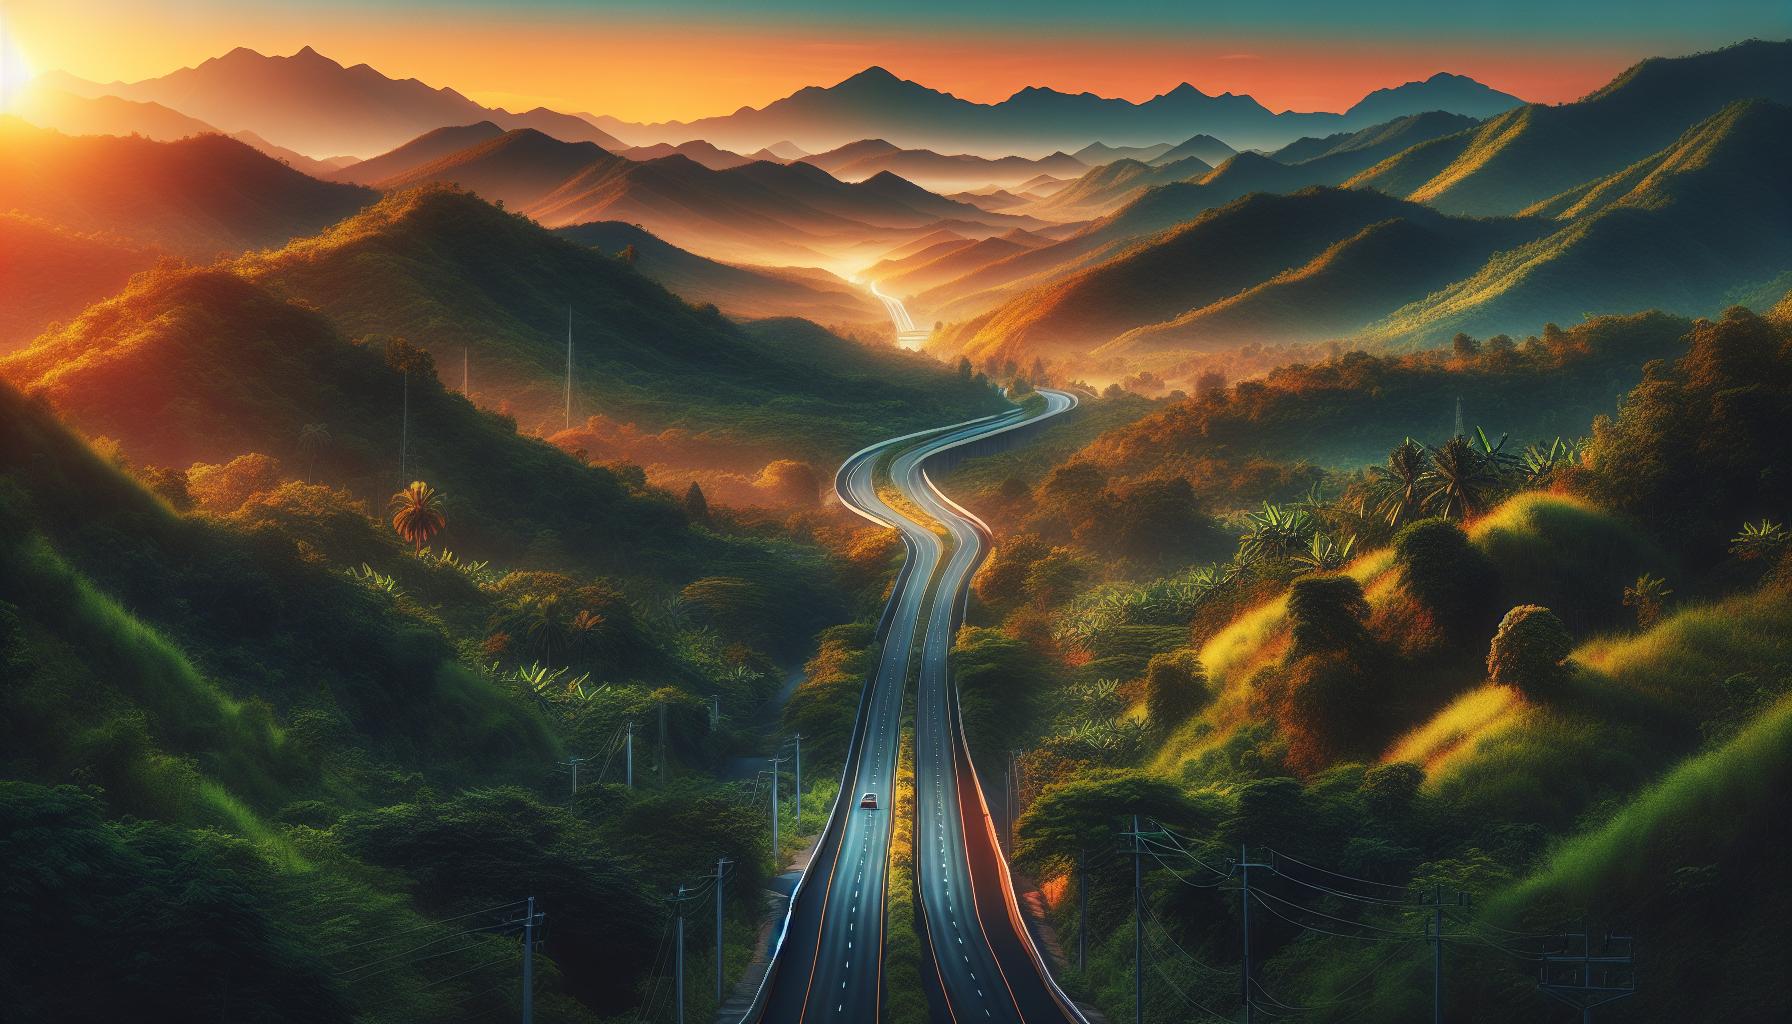
Natural and architectural elements guide viewers through photographs when used as leading lines. Roads serpentine through landscapes direct attention to distant mountains. Railway tracks create powerful linear perspective drawing eyes to the vanishing point. Urban photographers utilize staircases handrails street lights to establish visual paths. Framing enhances depth by using doorways windows or tree branches to encircle the main subject. Architectural photographers frame cityscapes through arches. Nature photographers use overhanging branches to frame waterfalls. These techniques add layers of visual interest creating photographs with greater dimensional impact. Environmental portraits gain strength when subjects stand within natural frames like archways or between trees.
Mastering Natural and Artificial Light
Light manipulation forms the foundation of exceptional photography. Understanding how to harness both natural and artificial light sources enables photographers to create stunning images in any condition.
Golden Hour Photography
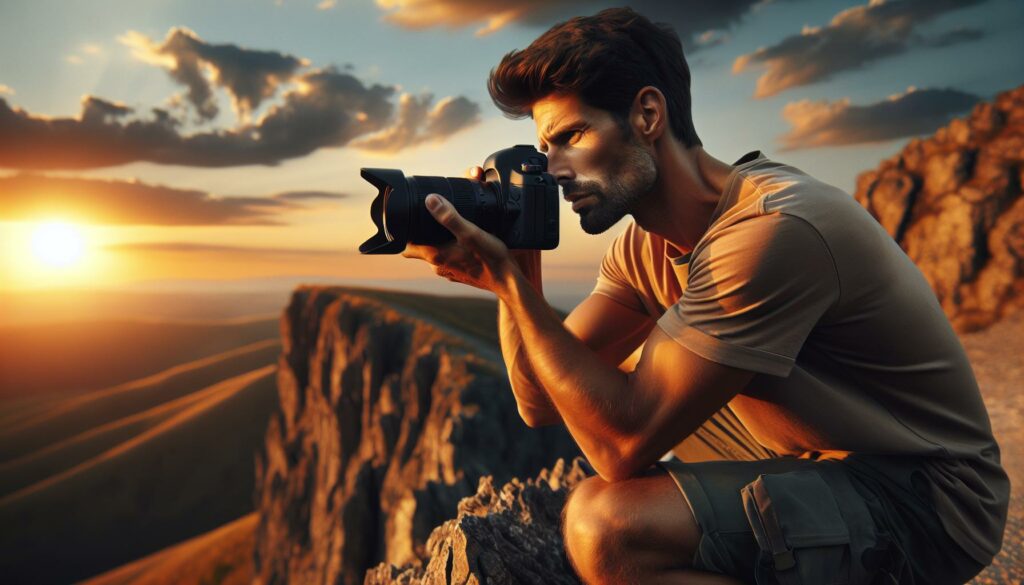
Golden hour photography captures images during the first hour after sunrise or the last hour before sunset. The sun’s position creates warm, soft light that bathes subjects in a golden glow. This lighting produces minimal shadows, reduces harsh contrasts, and adds depth to landscapes through long, gentle shadows. Professional photographers schedule outdoor portrait sessions during golden hour to achieve flattering skin tones, enhanced textures, and dimensional effects. Key camera settings for golden hour include:
| Setting | Recommendation |
|---|---|
| Aperture | f/4 to f/8 |
| ISO | 100-400 |
| White Balance | Daylight or Cloudy |
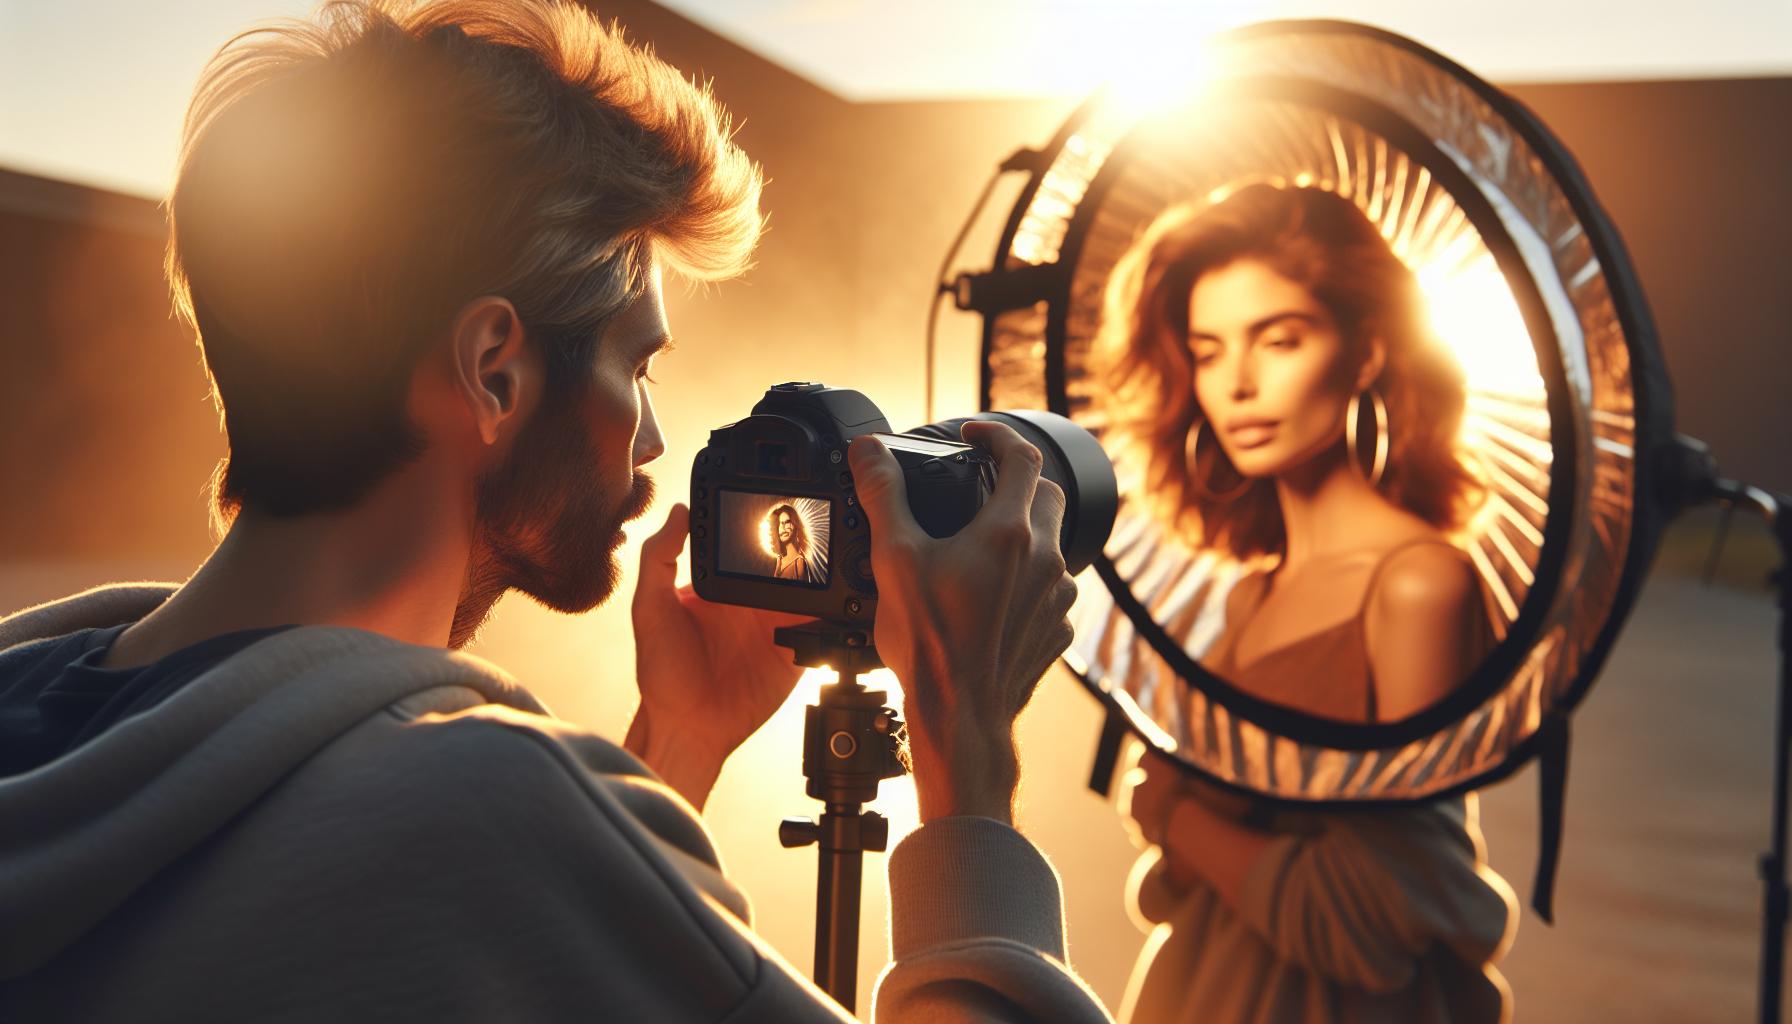
Working with Flash and Reflectors
External flashes and reflectors provide controlled lighting solutions for challenging environments. A speedlight flash creates directional light for fill lighting, while reflectors bounce existing light onto subjects. Photographers position reflectors at 45-degree angles to eliminate shadows under eyes or create hair light effects. Common flash techniques include:
| Technique | Purpose |
|---|---|
| Bounce Flash | Softens light by reflecting off surfaces |
| Rear Curtain Sync | Adds motion trails to moving subjects |
| Fill Flash | Balances exposure in backlit scenes |
Light modifiers like softboxes diffuse harsh flash light, creating natural-looking illumination for portrait photography. Silver reflectors increase light intensity, while gold reflectors add warmth to skin tones.
Post-Processing Tips for Professional Results
Post-processing transforms raw images into polished photographs through precise adjustments enhancing color composition lighting balance. Digital editing brings out the best qualities while maintaining authenticity in modern photography.
Basic Photo Editing Workflow
A structured editing workflow starts with importing RAW files into professional software like Adobe Lightroom or Capture One. The initial phase focuses on non-destructive adjustments including exposure correction white balance fine-tuning lens corrections. Photographers create virtual copies to experiment with different editing versions without altering original files. Key workflow steps include:
- Culling images to select the strongest shots
- Applying camera profile corrections
- Adjusting basic exposure parameters
- Creating consistent metadata tags
- Organizing files in cataloged collections
- Exporting final images in appropriate formats
- HSL sliders for precise hue saturation luminance control
- Color temperature adjustments ranging from 2500K to 10000K
- RGB curves for independent channel manipulation
- Split toning for highlights shadows balance
- Calibrated monitor settings at 6500K D65 standard
- Selective color masking for local adjustments
| Color Temperature | Lighting Condition | Visual Effect |
|---|---|---|
| 2500-3500K | Tungsten Light | Warm orange |
| 5500K | Daylight | Neutral |
| 7500-10000K | Shade/Cloudy | Cool blue |
Creating Exceptional Photographs
Creating exceptional photographs requires a blend of technical expertise artistic vision and dedication to continuous learning. From mastering the exposure triangle to understanding composition techniques photographers must develop a comprehensive skill set that goes beyond equipment choices.
Success in photography comes from consistently applying fundamental principles while staying open to creative possibilities. Whether capturing golden hour landscapes or perfecting post-processing techniques the journey to better photography is ongoing and rewarding.
By focusing on skill development understanding light and embracing both technical and artistic aspects photographers can elevate their work to new heights. The path to remarkable images lies in patience practice and a genuine passion for the craft.